Unleash Your Full Potential: Build your own remote dev server
Code anywhere, any time.

Prerequisites
- You need an AWS account, or some other web service provider that you are familiar with. This guide will assume you are using AWS
Set Up
The Server
Head over to aws.amazon.com and find the "EC2" tool. Open up the dashboard. It should look something like the following:

Click on instances -> Launch Instance
For this, we will be using a t2.micro instance so that we stay within the free tier. We're going to name it "remote-dev" and give it Ubuntu 22.04.
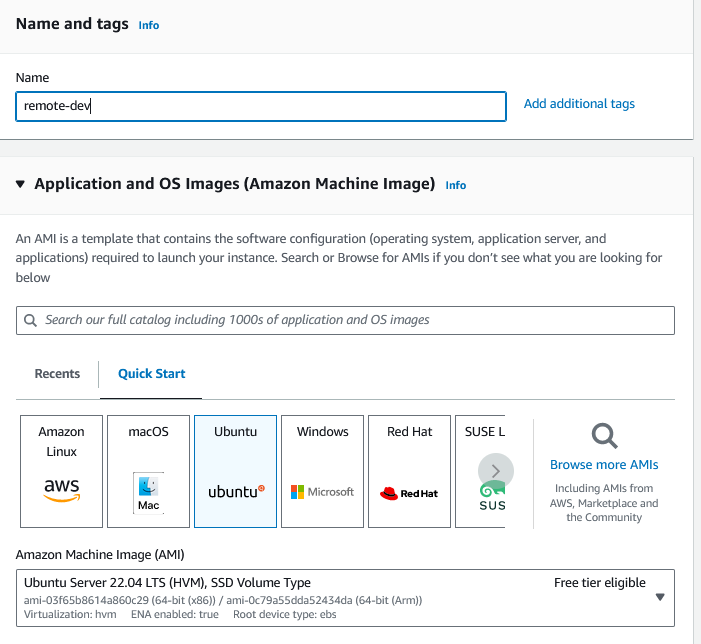
Next, we need to make sure that we can access our server once it boots up. Scroll down to the "Key Pair" heading, and click "Create a new key pair". It will download a .pem file. Save it to your downloads folder.
That's all that you need to do! Click the launch instance in the bottom right, and wait about 10 seconds for it to boot up. Then, head back to instances, and click on the instance ID.

This will bring up the instance's page. From here, click "Connect" on the top right. Connect using your preferred method (I will use the default one).
Installing code-server
Once you are connected to the instance, run the following commands:
Download code-server
curl -fOL https://github.com/coder/code-server/releases/download/v4.17.1/code-server_4.17.1_amd64.deb
Extract it
sudo dpkg -i code-server_4.17.1_amd64.deb
Enable it for the current user (you)
sudo systemctl enable --now code-server@$USER
Thats it!
From here, you might want to go ahead and buy a domain name so that you don't have to memorize an IP address, and so that you can use HTTPS.
Accessing code-server from the web
Installing nginx
In this guide, we will be using nginx to expose code-server to the web.
Go ahead and install it using the following commands
sudo apt update
sudo apt install -y nginx
If you want to make sure that you have done everything correctly, type
systemctl status nginxandsystemctl status code-server@ubuntu. They should both say "running"
Modifying the Firewall
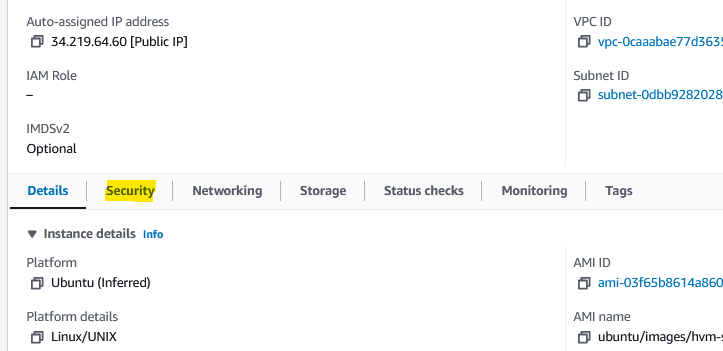
At this point, we need to allow all IP addresses to access the server at ports 80 and 443. (These are the http and https ports). To do this, head back over the the instance settings on AWS. Navigate to the bottom navbar and click on "Security"
Click on the security group
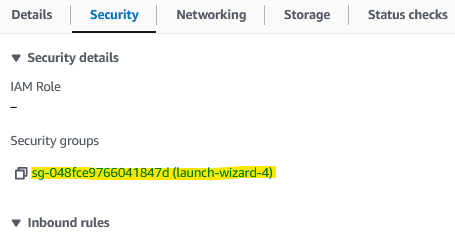
Then "edit inbound rules"
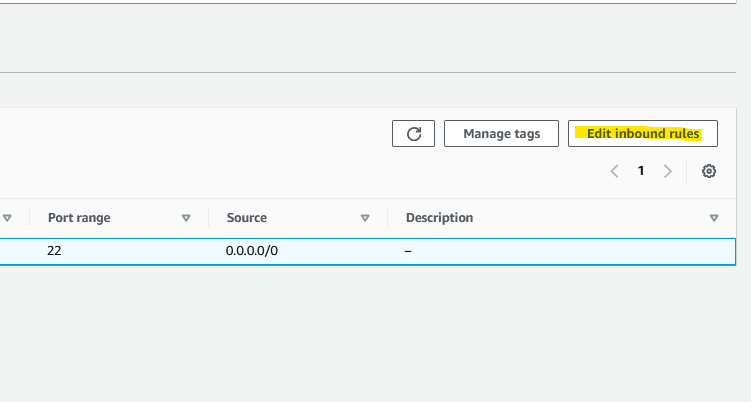
From there, click "add rule", and give it the following configuration:

Add one more rule, this time with HTTPs

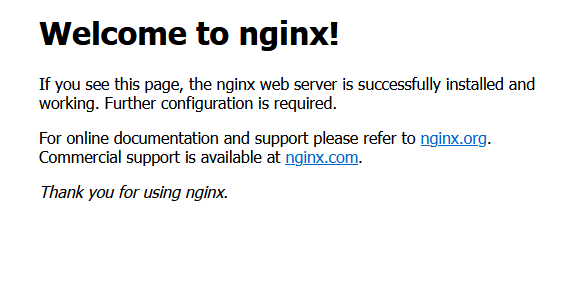
Click "save rules", and then head over to your server's public IP address on your favorite browser. (You can find the IP on the instance's details page or the connect page on AWS. If neither of these work, run curl api.ipify.org && echo "")
If everything is working correctly, you should see a welcome page.
Setting Up the code-server Page
Now, we need to enable another page, this one for the code server, and disable the welcome screen.
To do this, run the following commands:
cd /etc/nginx/sites-enabled && sudo rm default # this disables the default page
cd /etc/nginx/sites-available && sudo nano code-server # this will create a new page called "code-server"
In the screen that pops up, type in the following:
server {
    listen 80;
    listen [::]:80;

    server_name <REPLACE WITH YOUR DOMAIN NAME>;

    location / {
        proxy_pass http://localhost:8080/;
        proxy_set_header Host $http_host;
        proxy_set_header Upgrade $http_upgrade;
        proxy_set_header Connection upgrade;
        proxy_set_header Accept-Encoding gzip;
    }
}
If you do not have a domain name, delete the server_name line.
Do CTRL+O then enter save the file, then CTRL+X to exit the editor.
Enabling the code-server Page
To enable code-server (the file you created in the previous section), run the following command.
sudo ln -s /etc/nginx/sites-available/code-server /etc/nginx/sites-enabled/code-server
This creates a copy of the code-server file in the sites-enabled folder. This copy will change whenever the original changes, and vice versa.
Next, restart nginx by running the following command.
sudo systemctl restart nginx && sudo nginx -t
If everything works, you should get no errors, and the terminal should say the configuration file ... syntax is ok and configuration file ... test is successful
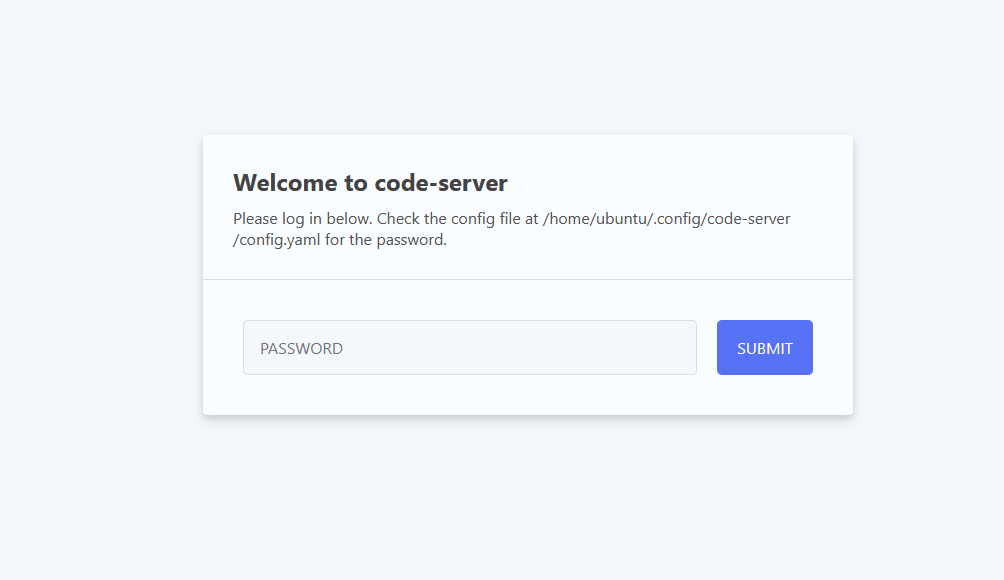
Go back to your browser and refresh the page. It should say "Welcome to code-server"
If it does not, try running systemctl status code-server@ubuntu and systemctl status nginx and making sure both are running with no errors.
To find your password, run cat /home/ubuntu/.config/code-server/config.yaml
If you want to change it, run sudo nano /home/ubuntu/.config/code-server/config.yaml and change it to what you want (remember CTRL+O then enter to save, and CTRL+X to exit). Once changed, run sudo systemctl restart code-server@ubuntu for the password to take effect.
Securing code-server
If you use Cloudflare to manage DNS, create an A record pointing to your IP address, and use the same domain you put in the code-server file for nginx. Make sure proxying is turned on.
If you do not use Cloudflare, run the following commands
sudo apt install -y python3-certbot-nginx
sudo certbot --non-interactive --redirect --agree-tos --nginx -d <REPLACE WITH YOUR DOMAIN> -m <REPLACE WITH YOUR EMAIL>
Thats it!
Once you log in, you should have a full VS Code-like interface that you can run code on!
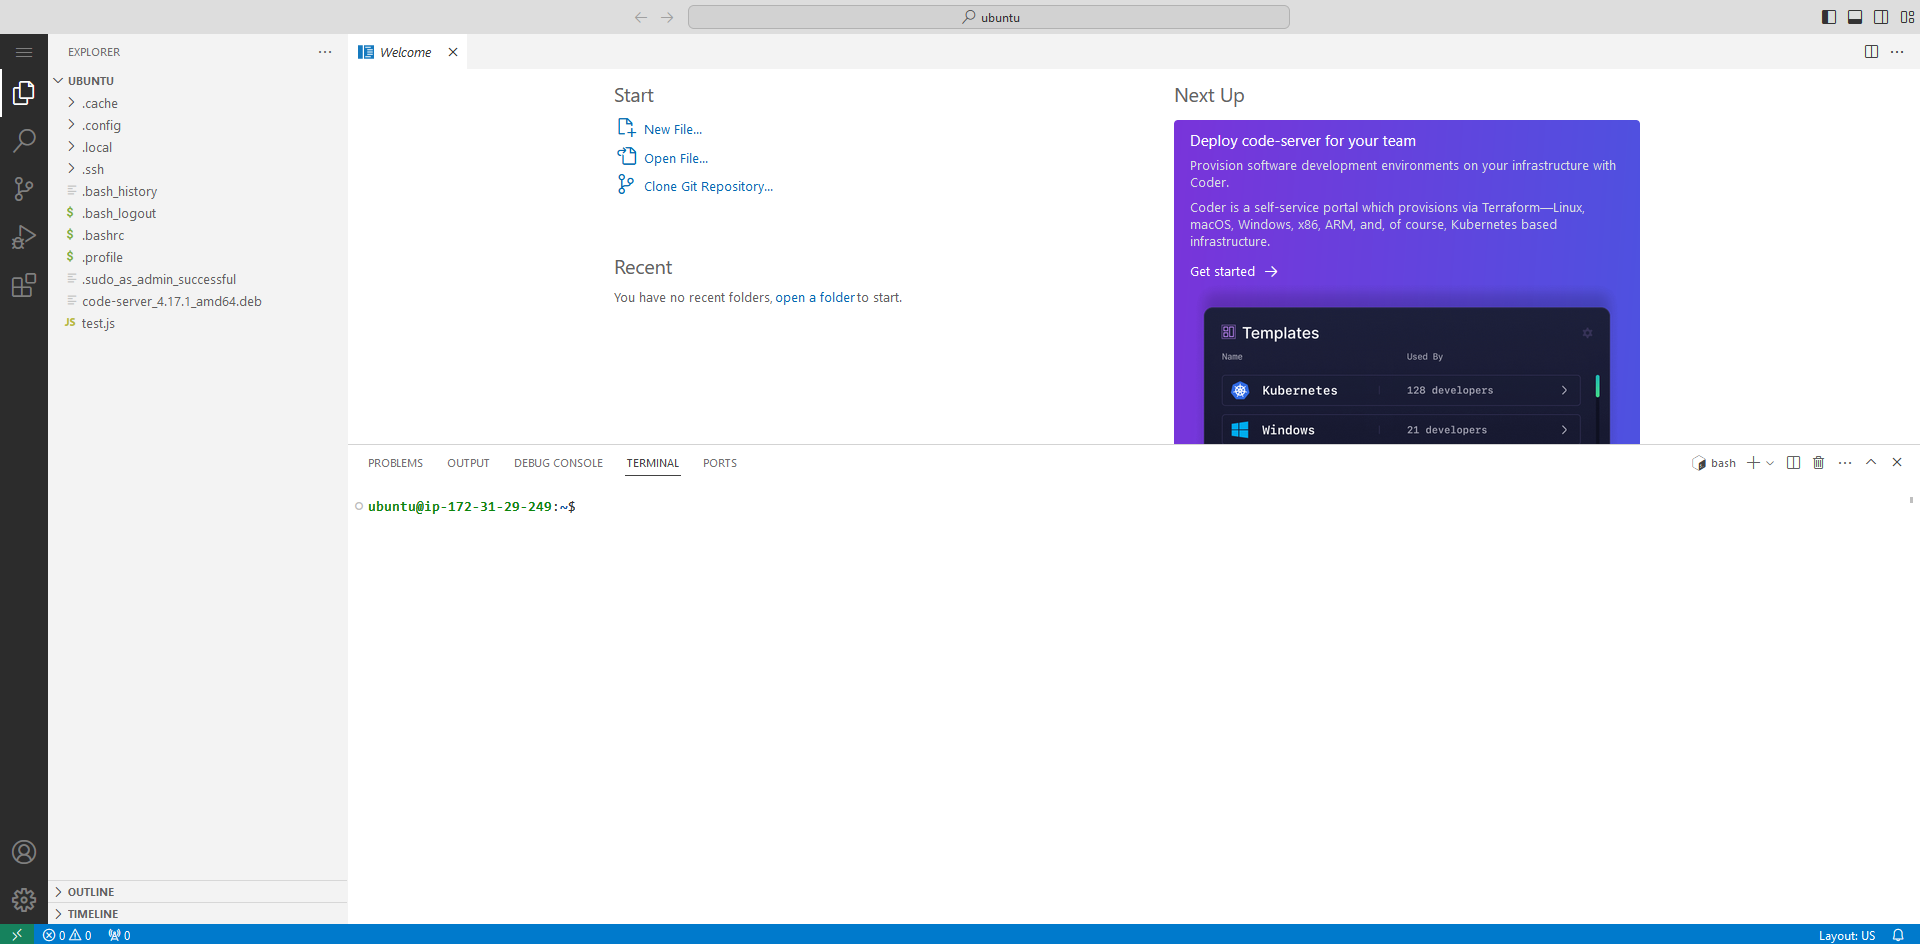
Happy coding!